How to Install Cline, the Autonomous Coding Agent, in VS Code
Install Cline, connect a model, and run your first agent task that reads and edits files with your approval.
Cline is an AI agent that lives in VS Code and can plan a task, read your files, run terminal commands, and edit code, asking for your approval at each step. It is more autonomous than a chat assistant. This guide installs Cline, connects it to a model, and runs a first safe task.
What you need
- VS Code installed
- An API key from a model provider, or a local model via Ollama
- A project folder open in VS Code
- About 8 minutes
Step 1: Install Cline
Open the Extensions view and search for Cline. Install the extension, then click its robot icon in the Activity Bar to open the agent panel.
Step 2: Connect a model
On first open, Cline asks you to choose an API provider and paste a key. Pick your provider from the dropdown, select a capable model, and paste your key. Cline stores it in VS Code's secret storage, not in a plain file.
Step 3: Give it a task
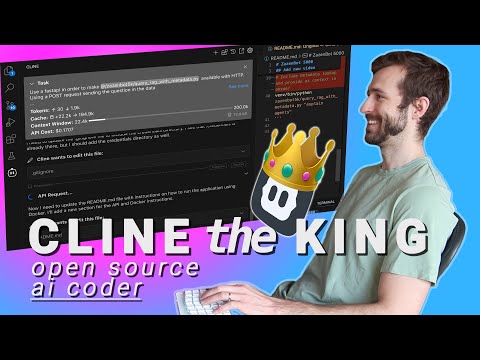
Type a task in plain language, such as add a README with setup instructions for this project. Cline plans the steps, then shows you each file read, each edit, and each command before it runs. Nothing happens without your approval unless you turn on auto-approve.
Step 4: Review the diff and complete
When Cline edits a file it shows a diff. Click Save to accept or Reject to discard. Once the task finishes, the new or changed files are in your workspace, ready for you to test and commit.
# My Project

## Setup

1. Install dependencies: npm install
2. Start the dev server: npm run dev
3. Open http://localhost:3000
Result
Cline is installed, connected to a model, and has completed a task with your approval at each step. You now have an agent that can take on multi-step work while you stay in control of every change.
Watch related tutorials
 14:27
14:27 16:12
16:12 12:38
12:38 14:00
14:00 10:00
10:00 9:47
9:47