How to Animate a Still Image into Video with Runway
Use Runway's image-to-video mode to bring a single photo or illustration to life with controlled motion.
Image-to-video is often more reliable than text-to-video because the model already knows exactly what the scene looks like; it only has to invent motion. This is the fastest way to turn product shots, character art, or photos into moving clips. This guide covers uploading an image and steering how it animates.
What you need
- A Runway account with available credits
- A high-resolution source image (JPG or PNG), ideally 16:9 or 9:16
- A short description of the motion you want
- About 6 minutes including render time
Step 1: Upload your image
In the Gen-3 panel, click the image input slot rather than typing a prompt first. Drag in your file or browse for it. Runway will use this frame as the first frame of the video, so crop it to your target aspect ratio before uploading to avoid letterboxing.
Step 2: Describe only the motion
Because the model already has the image, your prompt should describe movement, not the scene. Write what the camera does and what, if anything, moves in the frame. Skip adjectives about color or subject; the image supplies those already.
camera slowly orbits to the right,
gentle steam rising from the cup,
subtle parallax, locked focus on the subjectStep 3: Use last-frame for a defined endpoint
Runway lets you set both a first frame and a last frame. If you have two images, the start state and the end state, upload both. The model interpolates between them, which is the most controllable way to get a predictable result such as a door opening or a logo assembling.
Step 4: Generate and check the first second
Generate the clip, then scrub the first second carefully. Image-to-video almost always looks best at the start and degrades toward the end as the model drifts. If the back half falls apart, shorten the duration to 5 seconds and regenerate.
Step 5: Export and loop if needed
Download the MP4. For social loops, you can trim the clip in any editor so the last frame is close to the first, then enable looping on the platform. For orbit and parallax shots this usually reads as a seamless rotation.
Result
A static product photo is now a slow orbiting shot with subtle steam, the kind of clip that used to need a turntable rig. Because the first frame is your real image, the branding stays accurate where pure text-to-video would have invented its own product.
Watch related tutorials
 20:30
20:30 18:25
18:25 14:20
14:20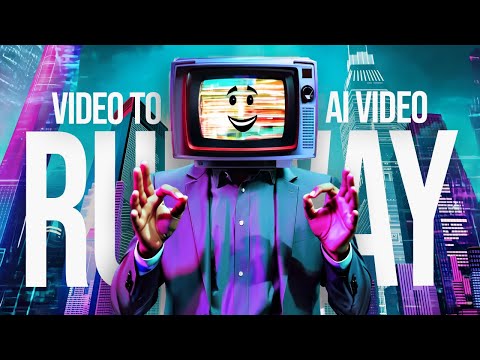 11:35
11:35 12:10
12:10 15:48
15:48