How to Run Flux.1 Dev in ComfyUI
Download the Flux.1 Dev model, its text encoders and VAE, place each file correctly, and load the default Flux workflow to generate your first Flux image.
Flux.1 Dev is a strong open-weight text-to-image model from Black Forest Labs. It is split into several files that go into different folders, which trips up most newcomers. Once the pieces are placed correctly, ComfyUI's built-in Flux template just works. This guide walks through every file and where it lives.
What you need
- ComfyUI updated to a recent version (Flux support is built in)
- A GPU with 12 GB VRAM for the full model, or use the fp8 build on 8 GB
- A Hugging Face account to accept the Flux Dev license and download
- Around 30 GB of free space for all the files combined
Step 1: Download the four pieces
Flux needs the diffusion model itself, two text encoders, and a VAE. Grab these files and note which folder each one belongs in. The fp8 single-file version of the encoder is the easy path for limited VRAM.
| File | Goes in folder |
|---|---|
flux1-dev.safetensors | models/unet |
clip_l.safetensors | models/clip |
t5xxl_fp16.safetensors | models/clip |
ae.safetensors | models/vae |
Step 2: Place each file in the right folder
This is where most failures happen. The diffusion model is a unet, not a checkpoint, so it does not go in models/checkpoints. Double-check the layout against the tree below.
Step 3: Load the Flux template
In ComfyUI open the workflow menu and choose a Flux template (in recent builds, Workflow > Browse Templates > Flux). This drops in a ready graph wired for the unet loader, dual CLIP loader, and VAE.
Step 4: Select your files in the loaders
Click each loader node and pick the matching file: flux1-dev in the UNET loader, clip_l plus t5xxl in the DualCLIPLoader (type set to flux), and ae.safetensors in the VAE loader. If a dropdown is empty, the file is in the wrong folder.
Step 5: Set Flux sampling values and generate
Flux Dev likes around 20 to 25 steps with a guidance value near 3.5 and the euler sampler. Type a prompt, set the latent to 1024 by 1024, and click Queue Prompt. The first run loads the large T5 encoder, so give it a minute.
Result: a Flux Dev render at native 1024 resolution. Flux follows long, descriptive prompts well and renders legible text, so write full sentences rather than keyword soup.
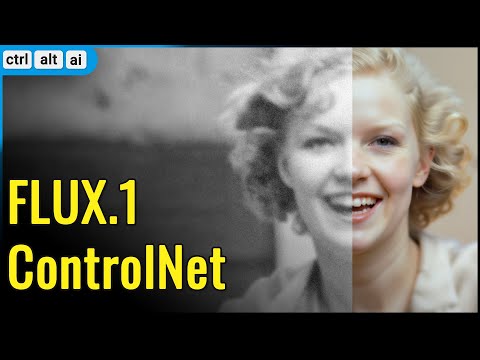
Watch related tutorials
 26:00
26:00 23:00
23:00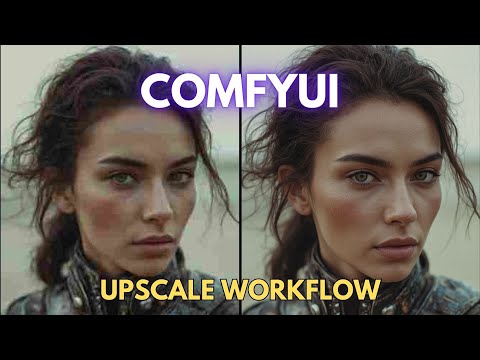 17:00
17:00 24:10
24:10 19:48
19:48 20:00
20:00