How to Batch Edit Photos with AI Presets
Apply one AI-tuned look to a whole folder of photos at once so a shoot stays consistent without editing each frame by hand.
Editing one photo is easy; editing two hundred the same way is the slog. AI presets let you tune a single image, then apply that exact look across an entire folder. This guide builds a preset and runs it as a batch.
What you need
- An image editor with AI auto-adjust and preset support
- A folder of photos from one shoot or scene
- About 10 minutes
Step 1: Tune one reference image
Pick the most representative shot and edit it until it looks right. Use the AI auto-adjust as a starting point, then nudge exposure, white balance, and contrast by hand.
Step 2: Save the edit as a preset
Capture every adjustment into a named preset so it can be reused. Name it after the shoot so you can find it later.
Step 3: Select the whole folder
Switch to the grid or library view and select every photo you want to match. Most tools let you select all with one shortcut.
Select all photos in folder: Cmd+A (macOS) or Ctrl+A (Windows)Step 4: Apply and spot-check
Apply the preset to the selection, then scan the grid. A few outliers shot in different light may need a small tweak, which you can do without redoing the rest.
Result: a whole shoot shares one consistent look, finished in minutes, with only the genuine outliers needing a manual touch.
Watch related tutorials
 13:20
13:20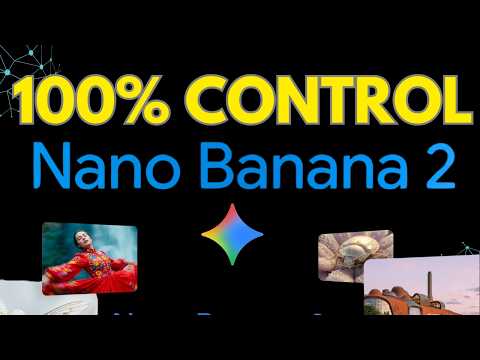 11:05
11:05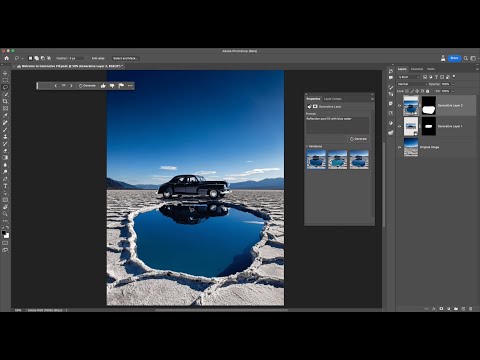 07:30
07:30 22:10
22:10 18:42
18:42 21:09
21:09